
Modern Australian homes often feature open-plan living areas, hard flooring, large windows and minimal furnishings. These design choices create bright, spacious interiors, but they can also make everyday sounds more noticeable. Conversations may echo across the living room, television noise can travel through shared spaces, and home offices may feel less comfortable during calls.
Acoustic panels offer a practical way to manage sound reflections while adding another design element to your interiors. Available in different colours, finishes, shapes and sizes, they can complement a wide range of home styles without making a room feel like a recording studio.
Here are 10 acoustic panel ideas to help you improve the look and sound of your home.
1. Create a Feature Wall in the Living Room
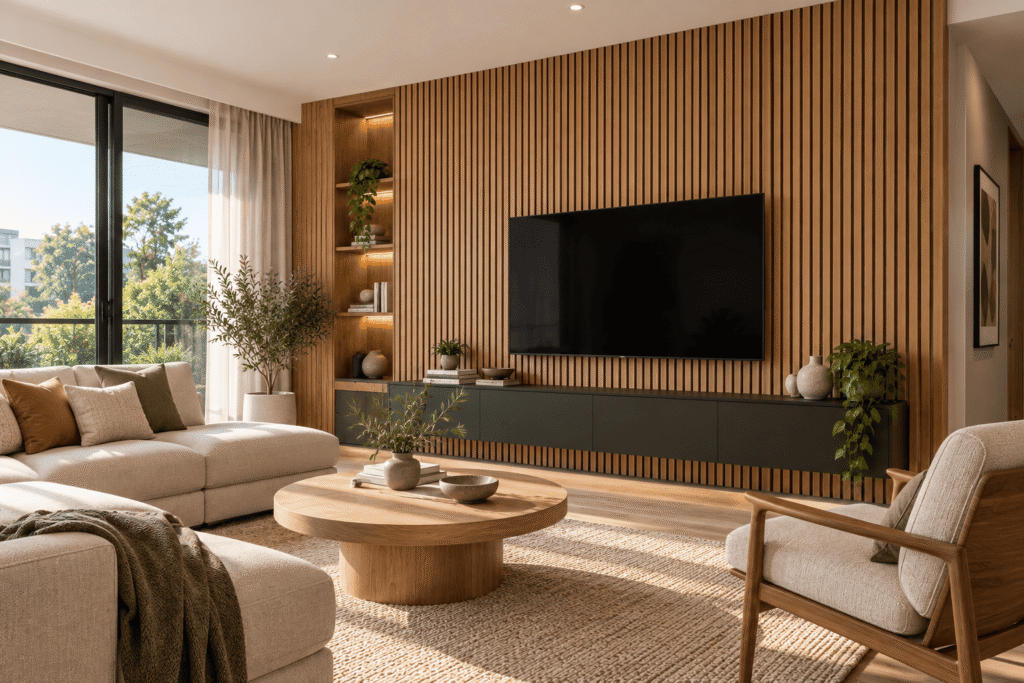
The living room is a natural starting point for acoustic panels, especially in homes with high ceilings, tiled floors or large windows. These surfaces can reflect sound, making conversations and television audio seem louder or less clear.
A feature wall behind the television or sofa can introduce texture while helping absorb some of those reflections. Timber-look slatted panels, fabric-covered panels and geometric designs can all work, depending on the interior style.
For a contemporary Australian living room, consider warm timber tones, neutral colours or a combination of vertical slats and painted walls. The result can feel like a deliberate design feature rather than a purely functional addition.
Design tip: Choose a wall that faces the main seating area and consider how the panels will work with your television, lighting and existing furniture.
2. Add Acoustic Panels to a Home Office
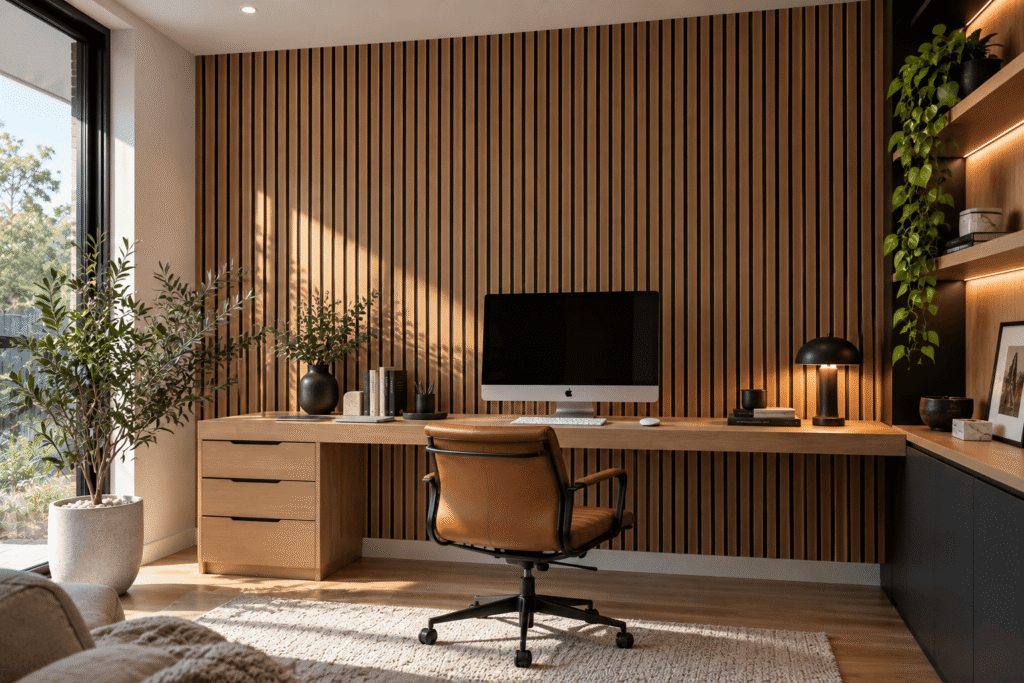
With more Australians working from home, a comfortable and functional office has become an important part of many homes. Hard walls and bare desks can contribute to sound reflections, which may make video calls tiring or difficult to follow.
Acoustic panels can be installed behind a desk, on a nearby wall or at selected reflection points. Fabric panels in muted colours suit minimalist offices, while timber finishes can create a warmer, more residential feel.
You can also use panels to define a work area in a multipurpose room without introducing bulky furniture or permanent partitions.
Design tip: Prioritise the wall surfaces closest to your speaking position and microphone. Remember that acoustic panels can improve sound within the room, but they do not automatically prevent noise from travelling between rooms. To understand the difference between managing sound inside a room and blocking unwanted noise, read our guide to acoustic panels vs soundproofing.
3. Use Timber-Look Panels for a Natural Interior
Timber finishes remain a popular choice for interiors that combine modern design with natural materials. Acoustic panels with timber-look slats can bring warmth and visual depth to spaces dominated by white walls, glass and stone.
Consider installing them behind a television, along a hallway wall or in a dining area connected to an open-plan living space. Lighter timber tones can complement coastal-inspired interiors, while darker finishes may suit contemporary or industrial designs.
Before buying, check the product’s actual acoustic performance. Not every decorative slatted panel is designed to absorb sound effectively. The backing material, panel construction and installation method all influence the result.
Design tip: Coordinate the panel finish with existing cabinetry, flooring or furniture rather than trying to match every timber surface exactly.
4. Make a Dining Area More Comfortable
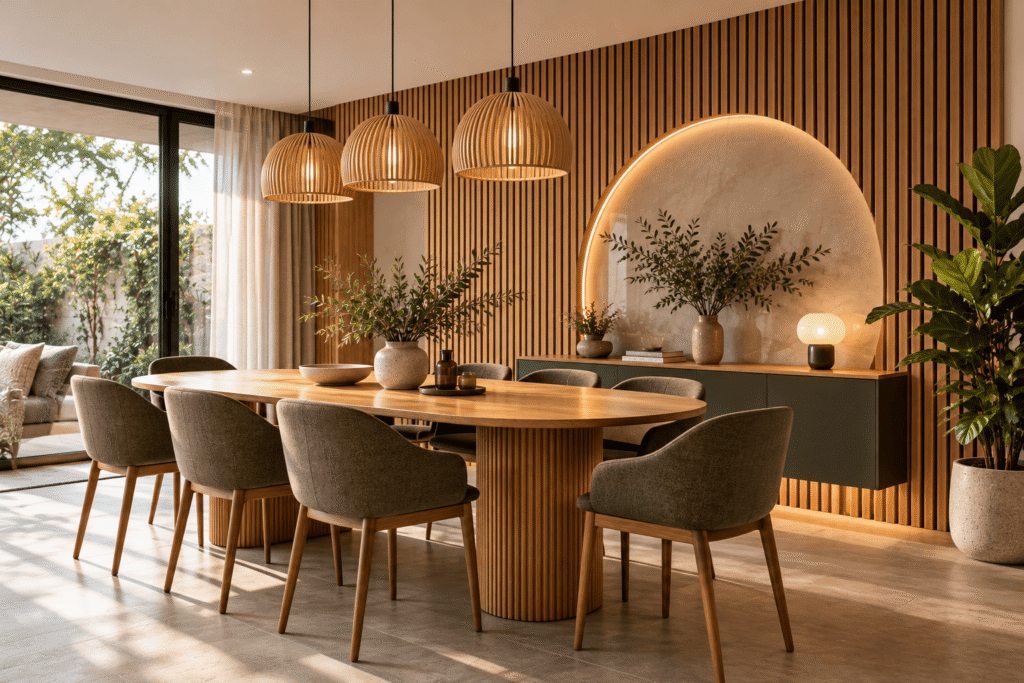
Dining areas can become noisy when several people are talking around a table, particularly in open-plan homes where the kitchen, dining room and living room share one space. Hard tabletops, tiled floors and large windows may contribute to the problem.
Acoustic panels on a nearby wall can help reduce reflected sound. They are particularly useful when placed thoughtfully around the dining area rather than spread randomly across the room.
For a refined look, use panels with a simple linear pattern or a fabric finish that complements the dining chairs. You can also pair wall panels with curtains, upholstered seating and a rug to introduce a mix of softer surfaces.
Design tip: If your dining area opens directly into the kitchen, consider the acoustics of the entire connected space. Treating just one small wall may not be enough to make a noticeable difference.
5. Install Panels in the Bedroom
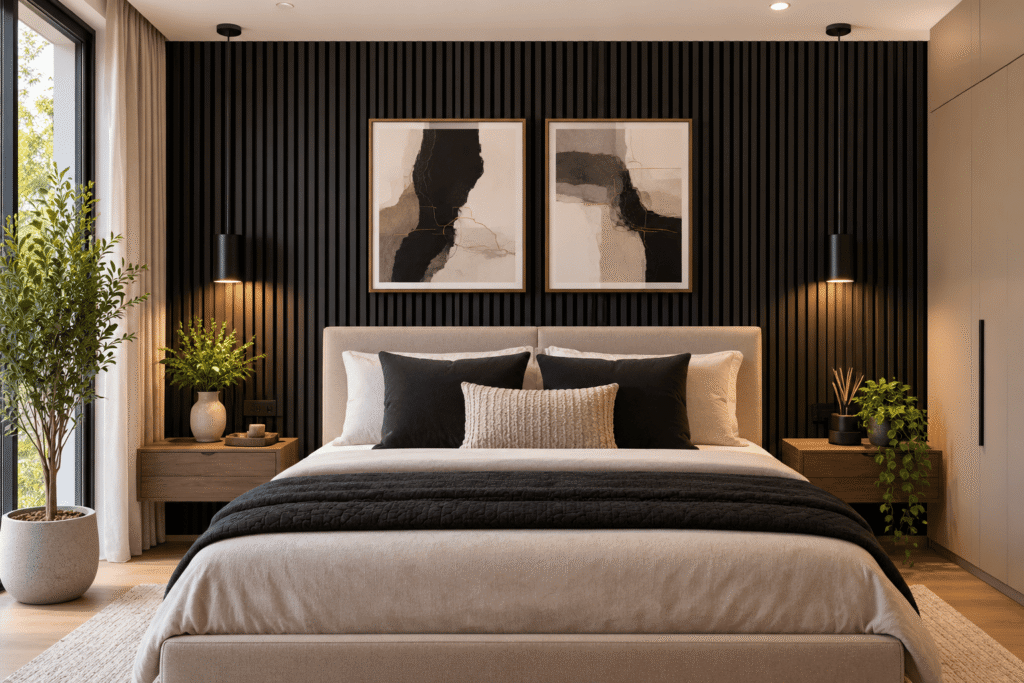
Bedrooms benefit from a calm atmosphere, and acoustic panels can contribute to a softer, more comfortable interior. A panelled wall behind the bed creates a focal point while helping absorb sound reflections.
Upholstered panels can suit a relaxed bedroom, while timber-look finishes work well with contemporary furniture and natural textures. Neutral shades such as beige, warm grey and muted brown are versatile choices, although a darker accent wall can create a stronger visual contrast.
The main consideration is placement. Panels are generally more useful for managing sound reflections within a bedroom than for blocking traffic noise or preventing sounds from passing through a shared wall.
Design tip: Check the cleaning requirements, fabric durability and mounting system before choosing panels for a bedroom.
6. Bring Better Acoustics to a Media Room
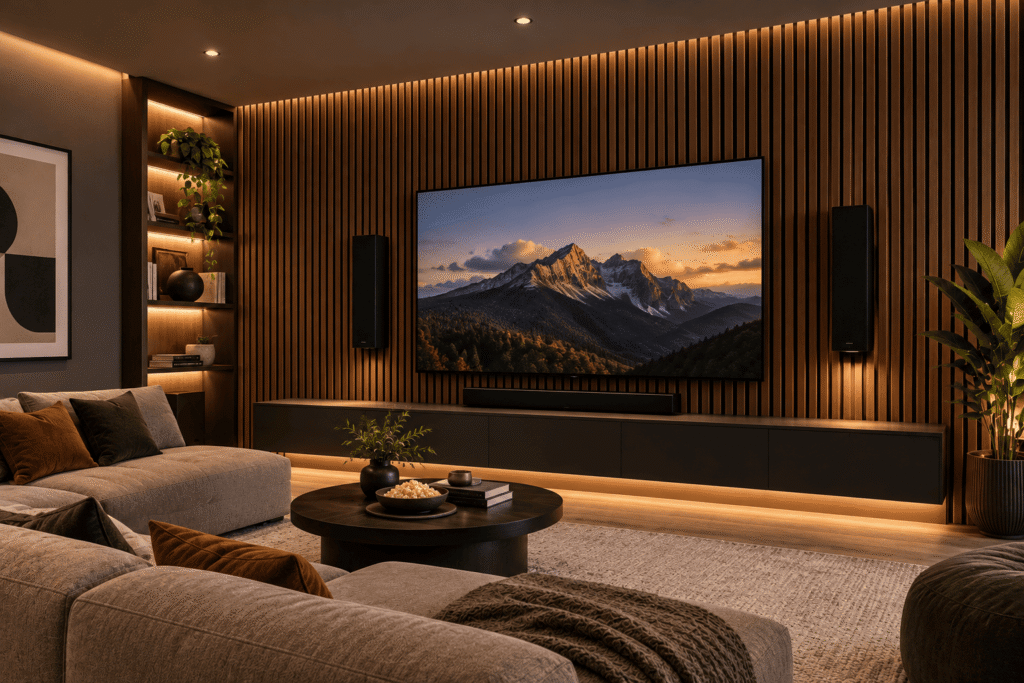
A dedicated media room or home cinema can benefit from acoustic treatment because clear dialogue and balanced sound are important when watching films, television or sporting events.
Panels can be positioned at selected wall reflection points to reduce excessive reverberation. Depending on the room layout, additional treatment may be needed on the rear wall or ceiling.
Dark fabric panels can create a cinema-inspired atmosphere, while timber-look finishes can suit a multipurpose entertainment room. The goal is to balance sound absorption with the room’s overall design rather than covering every surface without a plan.
Design tip: Choose panel placement based on the seating arrangement and speaker positions. A room with persistent bass problems may also need specialised low-frequency treatment.
7. Use Acoustic Panels in Hallways and Entryways
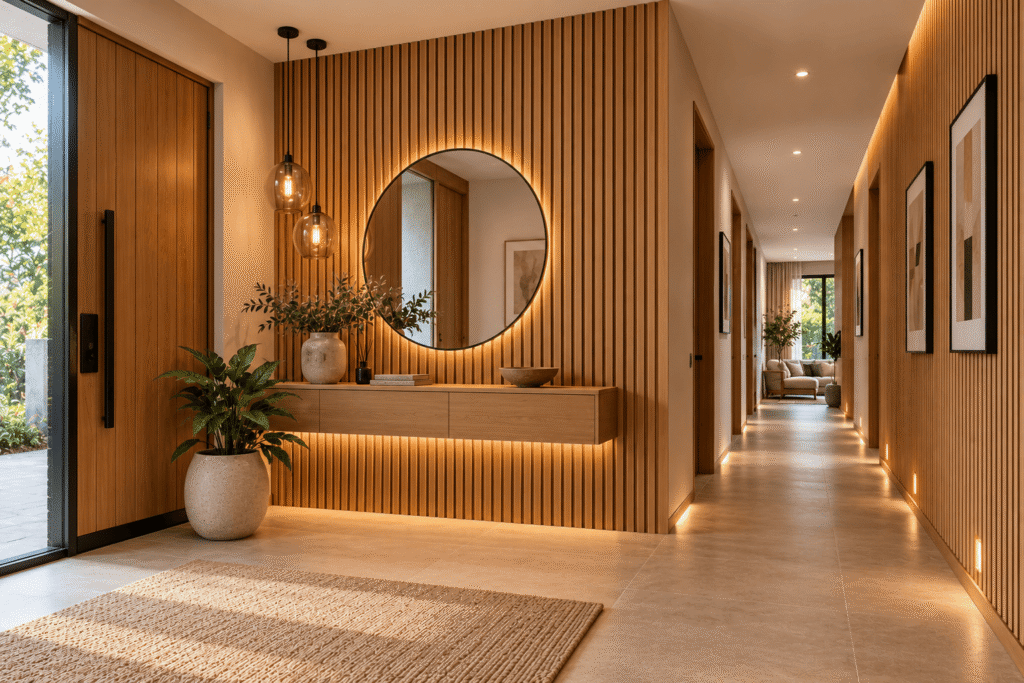
Hallways are often overlooked when planning interior finishes. In homes with long corridors, hard flooring and bare walls, footsteps and voices can reflect through the space.
A carefully placed acoustic panel can introduce texture and help manage some of these reflections. Narrow vertical panels can make use of limited wall space, while a larger decorative arrangement can create a focal point near the entry.
Because hallways are high-traffic areas, panel durability and installation are important. Avoid placing delicate or protruding panels where they could be easily knocked or damaged.
Design tip: Choose a finish that connects visually with the adjoining rooms so the hallway feels like part of the home’s overall design.
8. Combine Acoustic Panels with Decorative Wall Art
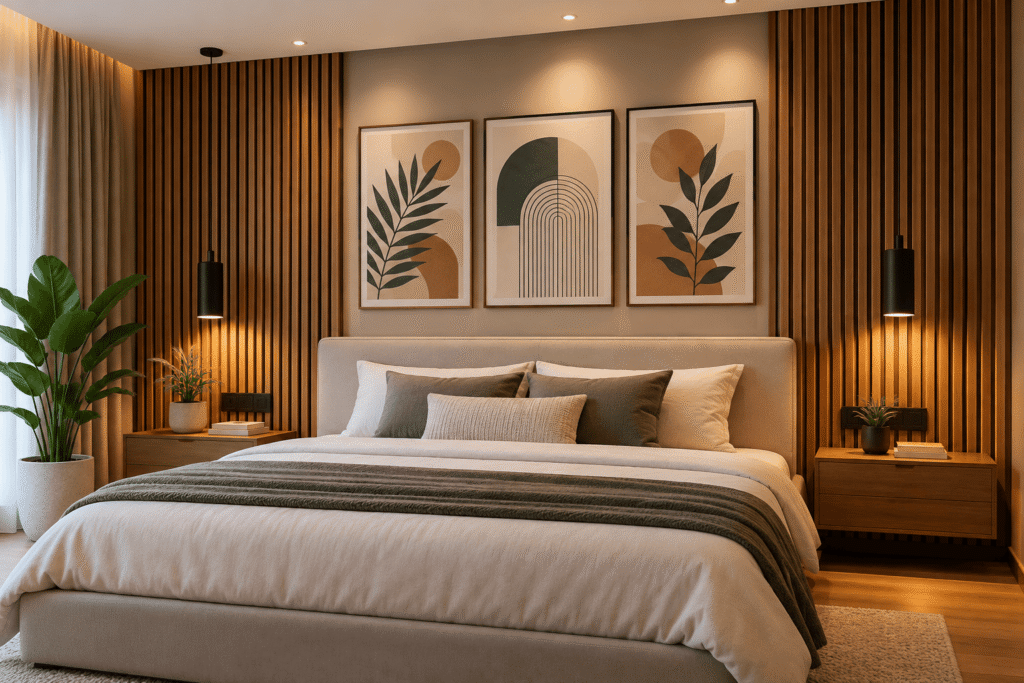
Acoustic treatment does not have to look technical. Decorative panels are available in a range of colours, shapes and arrangements, making it possible to create a feature that resembles contemporary wall art.
You could arrange rectangular panels in a symmetrical pattern, combine different sizes for a more dynamic layout or use contrasting colours to create a subtle geometric design.
This approach works well in living rooms, studies, meeting areas within the home and multipurpose spaces. It is particularly useful when you want to improve room acoustics without committing to a full panelled wall.
Design tip: Plan the layout before installation. Keep spacing consistent and check the manufacturer’s recommended mounting method to ensure the panels remain secure.
9. Improve Acoustics in an Open-Plan Living Space
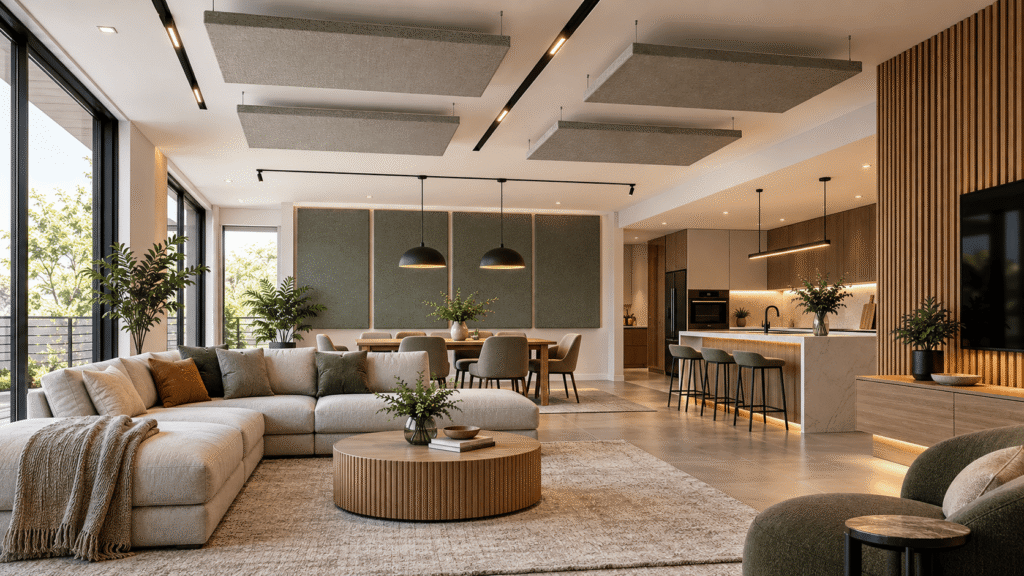
Open-plan layouts are common in modern Australian homes because they allow natural light to travel through the interior and make shared areas feel spacious. However, the same openness can allow sound to travel between the kitchen, dining area and living room.
Rather than treating the entire space as one large wall project, identify where sound reflections are most noticeable. A feature wall in the living area, panels near the dining space or selected ceiling treatments may help, depending on the room’s layout.
Acoustic panels can be combined with curtains, rugs, upholstered furniture and other soft finishes to create a more balanced acoustic environment.
Design tip: Think about how your household uses the space throughout the day. A family that cooks, watches television and works from home in connected areas may have different acoustic needs from a household that mainly uses the space for entertaining.
10. Create a Dedicated Study or Kids’ Learning Zone
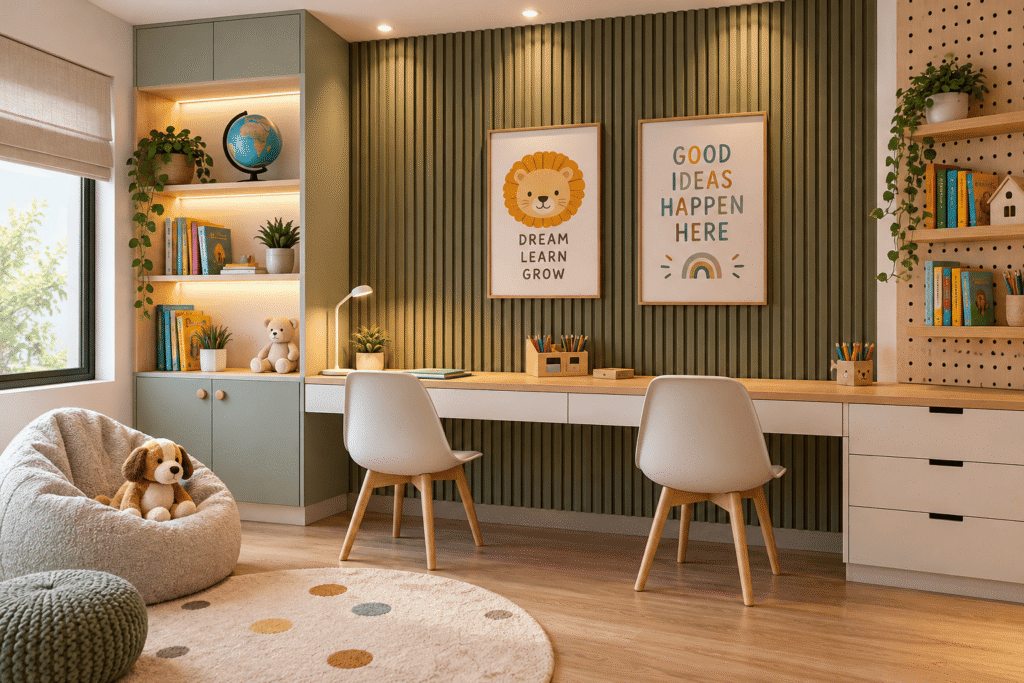
A study nook or children’s learning area often needs to serve several purposes, from homework and reading to online lessons and creative activities. Sound reflections can make it harder to concentrate or hear speech clearly during online classes.
Acoustic panels on a nearby wall can help make the space feel more comfortable. Choose practical finishes that work with the desk, shelving and room colours. For children’s areas, check that the materials are suitable for the intended setting and that the panels are securely installed.
If the study nook is part of a living room or bedroom, a coordinated panel arrangement can help visually distinguish the work area without building a separate room.
Design tip: Combine acoustic treatment with sensible desk placement, task lighting and storage to create a space that works for everyday use.
How to Choose the Right Acoustic Panels for Your Home
The best design depends on the room, the type of noise you experience and the finish you want. Before making a purchase, consider these factors:
- Acoustic performance: Check whether the product is designed to absorb sound and look for test data or performance ratings where available.
- Material and finish: Compare fabric, timber-look, foam and other panel constructions based on their appearance, durability and intended application.
- Panel placement: Identify the surfaces contributing most to sound reflections instead of assuming that covering an entire wall is necessary.
- Room conditions: Consider moisture, heat, cleaning requirements and the suitability of the panel for the intended location.
- Installation: Confirm the fixing method, wall compatibility, panel weight and any preparation required.
- Overall design: Choose colours, patterns and textures that complement your furniture, flooring and lighting.
For a more detailed selection process, read our guide on how to choose acoustic panels for your home or office.
Acoustic Panels vs Soundproofing: What’s the Difference?
Acoustic panels are primarily designed to absorb sound reflections within a room. They can help reduce echo and improve speech clarity, depending on the product and its placement.
Soundproofing has a different purpose: reducing the amount of sound travelling between spaces or entering from outside. This often requires measures such as sealing air gaps, improving wall or ceiling construction, and addressing doors, windows or other weak points.
Installing acoustic panels alone will not necessarily stop neighbours’ voices, traffic noise or sound passing through a shared wall. Understanding this distinction can help you choose a solution that addresses the actual problem.
For a closer comparison, see our guide to acoustic panels vs soundproofing.
Final Thoughts
Acoustic panels can be both a practical interior feature and a way to add texture, colour and visual interest to modern Australian homes. From a living room feature wall to a dedicated home office, the right design can complement your interior while helping manage sound reflections.
The most effective approach starts with identifying where noise is a problem, choosing panels suited to the room and planning their placement carefully. Consider the product’s acoustic performance as well as its appearance, and remember that sound absorption and soundproofing solve different problems.
With thoughtful planning, acoustic panels can fit naturally into your home rather than looking like an afterthought.